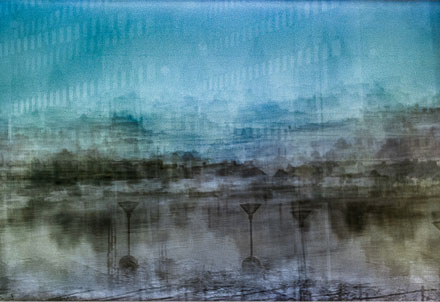
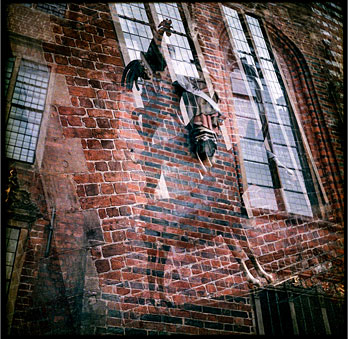
There are a few different styles of multiple exposure. The classic and most basic style with a cross fade look, sometimes used by film makers in the 70s and 80s. Then there is the style where the form in one exposure and the texture in the second makes the image, usually with blown out parts to create the form. Recently popularized by the tv show True Detectives intro. Then there is the style of many overlapping images displaced throughout the film. This technique leads to much decision making after the film is developed.
Multiple exposure as a creative tool can be achieved with two techniques in-camera and two techniques in post production.
The two in-camera techniques can be categorized as registered (aligned) and unregistered (non aligned) techniques.
Registered
In the registered version, multiple exposures are stacked in the same frame. The easiest way to do this is with older analog cameras where the advancing of the film and the cocking of the shutter is two separate motions. There are some cameras with film advancement override button that can be used. In digital photography some cameras have a multiple exposure mode, usually with two or three exposures.
One disadvantage with this technique is that images stacked together will normally be from the same location. It is hard to mix for instance a forest image with a cityscape and then back again. One way around this is to run the film through the camera multiple times, similar to some of the unregistered techniques.
This is easiest done with 120 film cameras with a small window on the back for viewing the film registry. The film needs to be wound back to the original roll in the dark room after each exposure. There will probably be a small displacement of the film and the protective paper. To avoid bulging, the tape at the beginning of the film needs to be moved a few millimeters. This will not guarantee perfect registration, but close enough. Compensate when advancing the film, if the tape is moved.
Unregistered
The unregistered in-camera technique is exclusively for analog cameras, though it can be simulated digitally. There are two main methods to achieve this. One technique is to run the film through the camera multiple times with displacement, with 135 film this is achieved by cutting approximately one third of a frame away each time you load the film. In 120 and 220 cameras the film returned to the original roll in the dark room and loaded with some displacement from the previous load.
The disadvantage with this technique is that the space between frames will create blocks of unexposed or less exposed parts. To avoid this the other technique with film advancement manipulation is preferred.
With 135 cameras, use a camera with manual film rewind. After each exposure press the rewind release button and rewind a part of a frame. The amount to wind back is dependent on how many exposures is desired to overlap. It is hard to know how much to wind back and has to be learned with experience.
With 120 and 220 cameras just simply avoid to advance the film with a full frame each time.
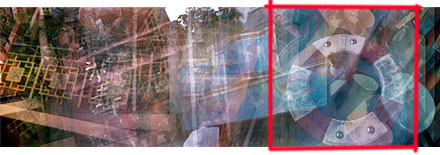
The unregistered approach creates a strip of images overlapping through out the film, and it needs to be studied carefully before the final decision is made on what to choose as a final image. The options are almost infinite.

Exposure
The tricky part with multiple exposure is to get good exposed negatives (to use E-6 film is basically out of the question). Even though mathematically it is easy to calculate the proper exposure for each partial instance, depending on the amount of exposures in each frame. It rarely comes out the way predicted by the math. If the negative will be scanned, to dense negative is no good. If the negative will be printed traditionally or digitalized with a camera a dense negative will not cause to much trouble. A rule of thumb to start with, C-41 film slightly under expose each exposure. With black and white and three exposures. Rate 400 ISO film 600 ISO and under developed slightly.
The post production techniques
It is of course possible to simulate all of the mentioned techniques in photo editing programs but these techniques will not be described here.
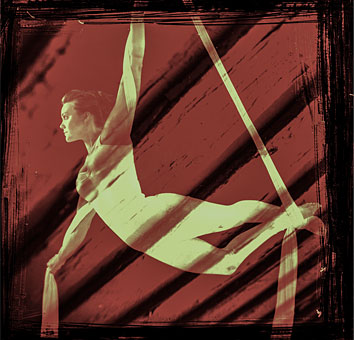
The analog technique, sandwich two or more negatives before digitalization or printing. This makes it possible to manipulate the emulsion with scratches, hand colorization, adding tissue paper and mix black and white with color negatives.
Have fun and find Your own expression